Conducting a thorough professional bat inspection is a critical first step in addressing any potential bat infestation in a building. Bats can pose significant health and structural risks; therefore, it’s essential to accurately assess the scope of the problem before taking action.
This photo guide provides a comprehensive look at how the experts at Trutech conduct a bat inspection. During our pest inspection, we identify signs of bat activity, locate the bat entry points, and recommend appropriate next steps to resolve the issue.
Step 1: Inspect the Exterior of the Building
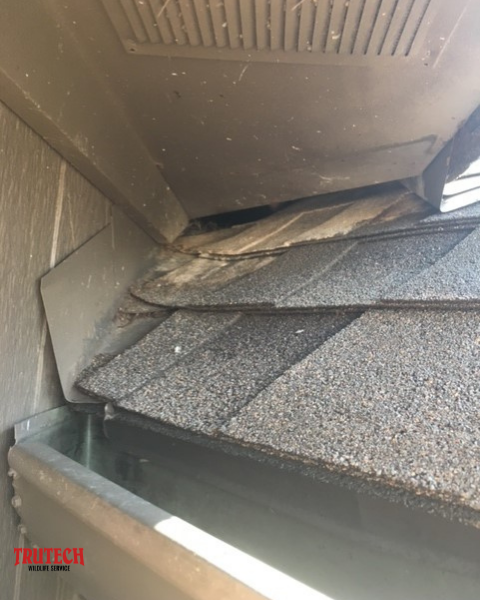
Conduct a thorough inspection of the exterior of the building, looking for any potential entry points where bats could gain access, such as:
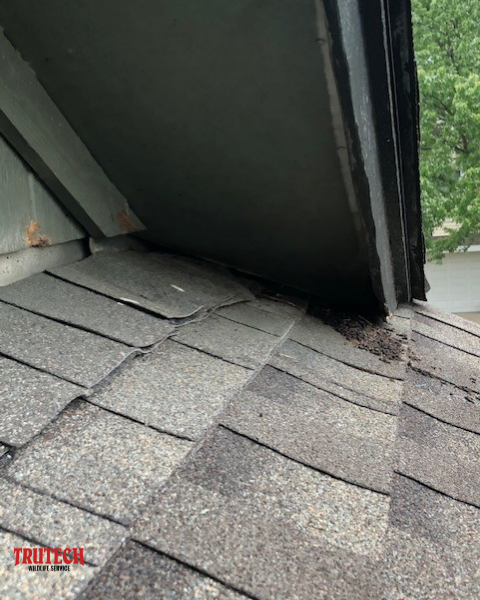
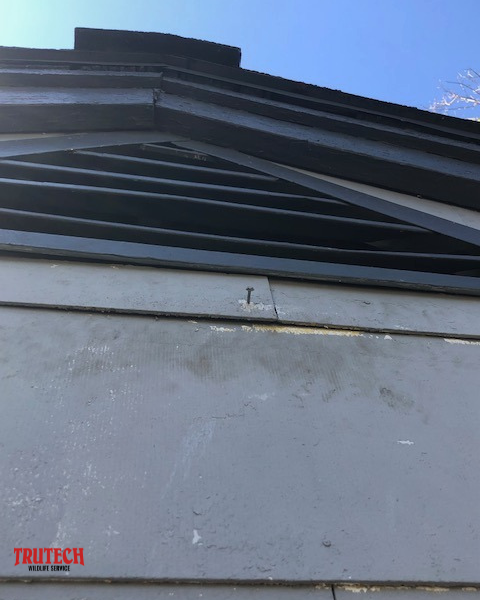
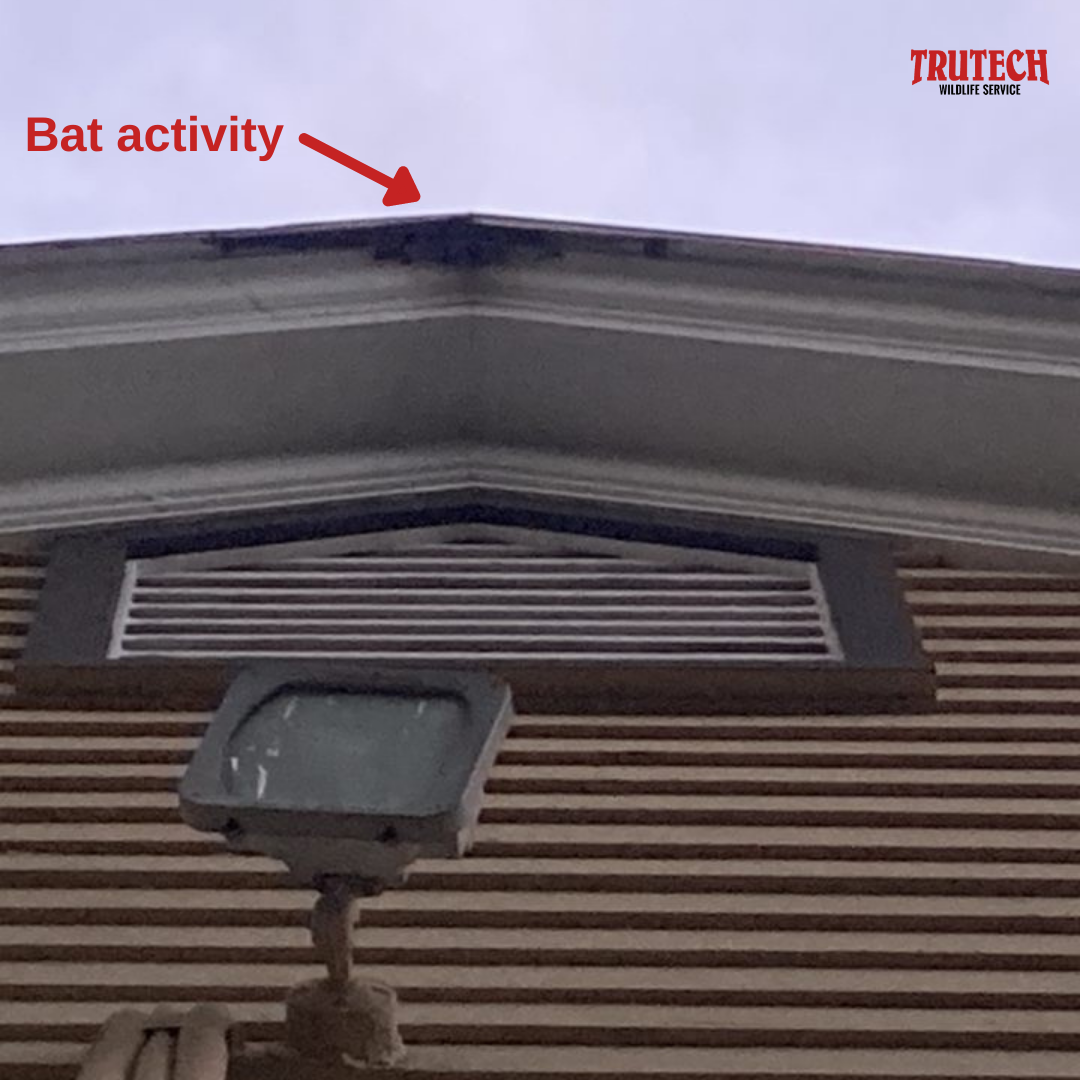
Gaps or cracks in the siding, eaves, or roof
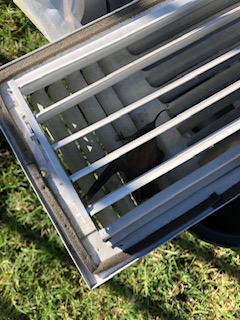
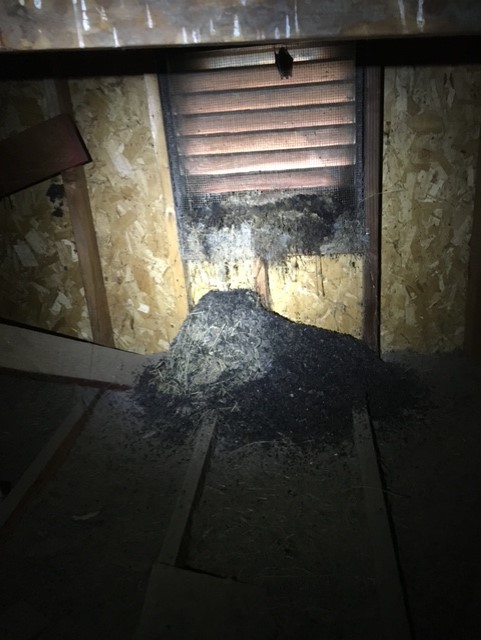
Open Vents
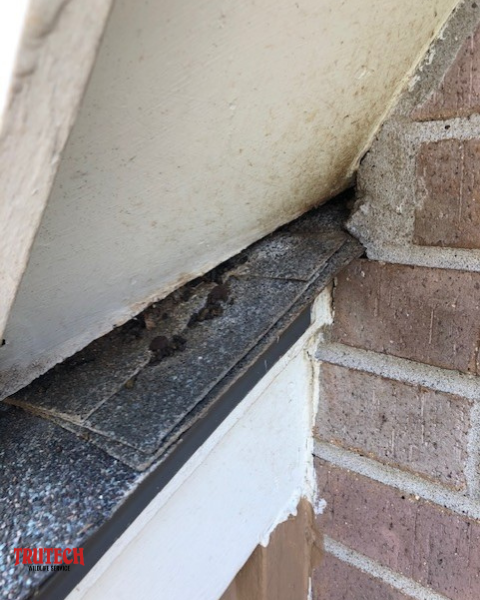
Loose or damaged fascia boards or soffits
Uncapped Chimneys
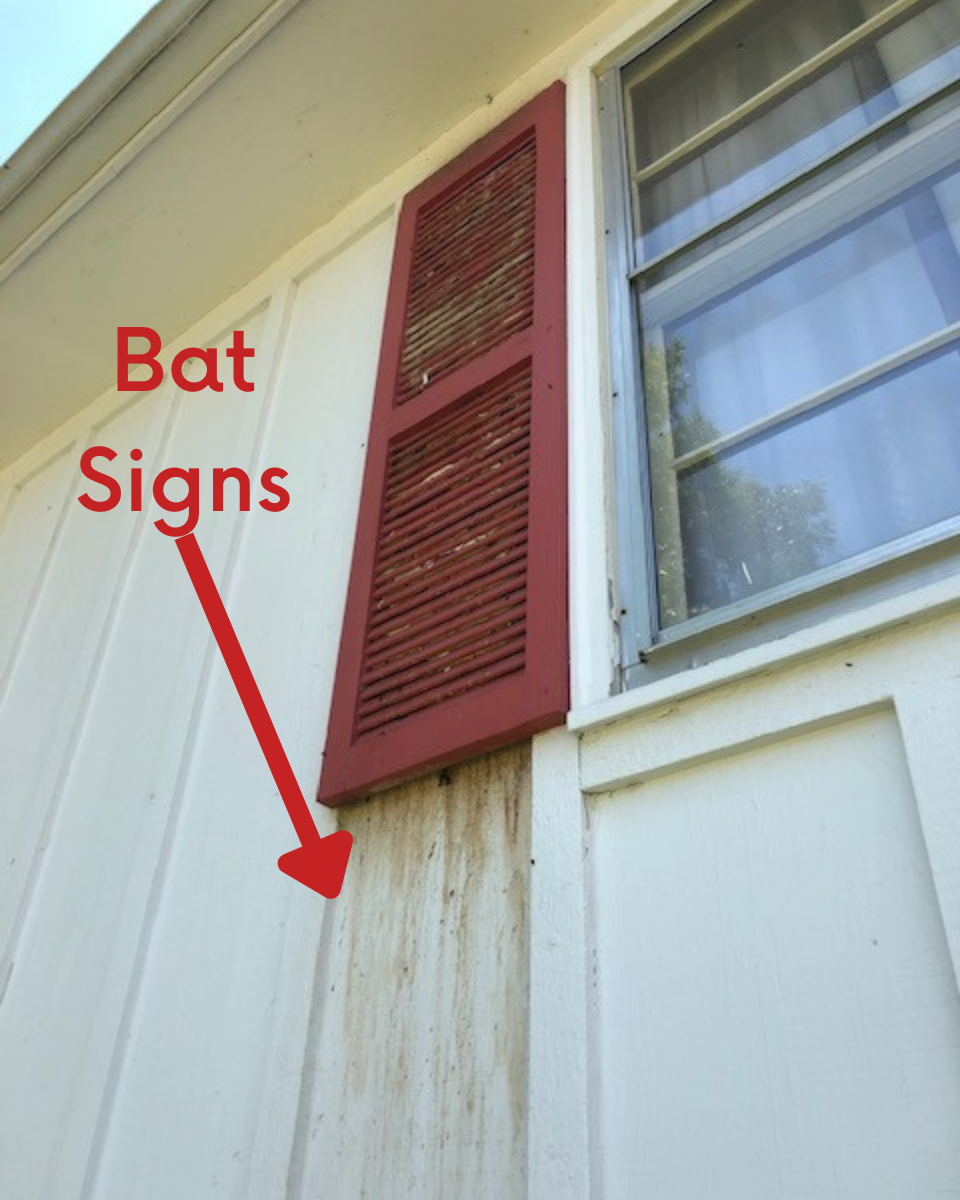
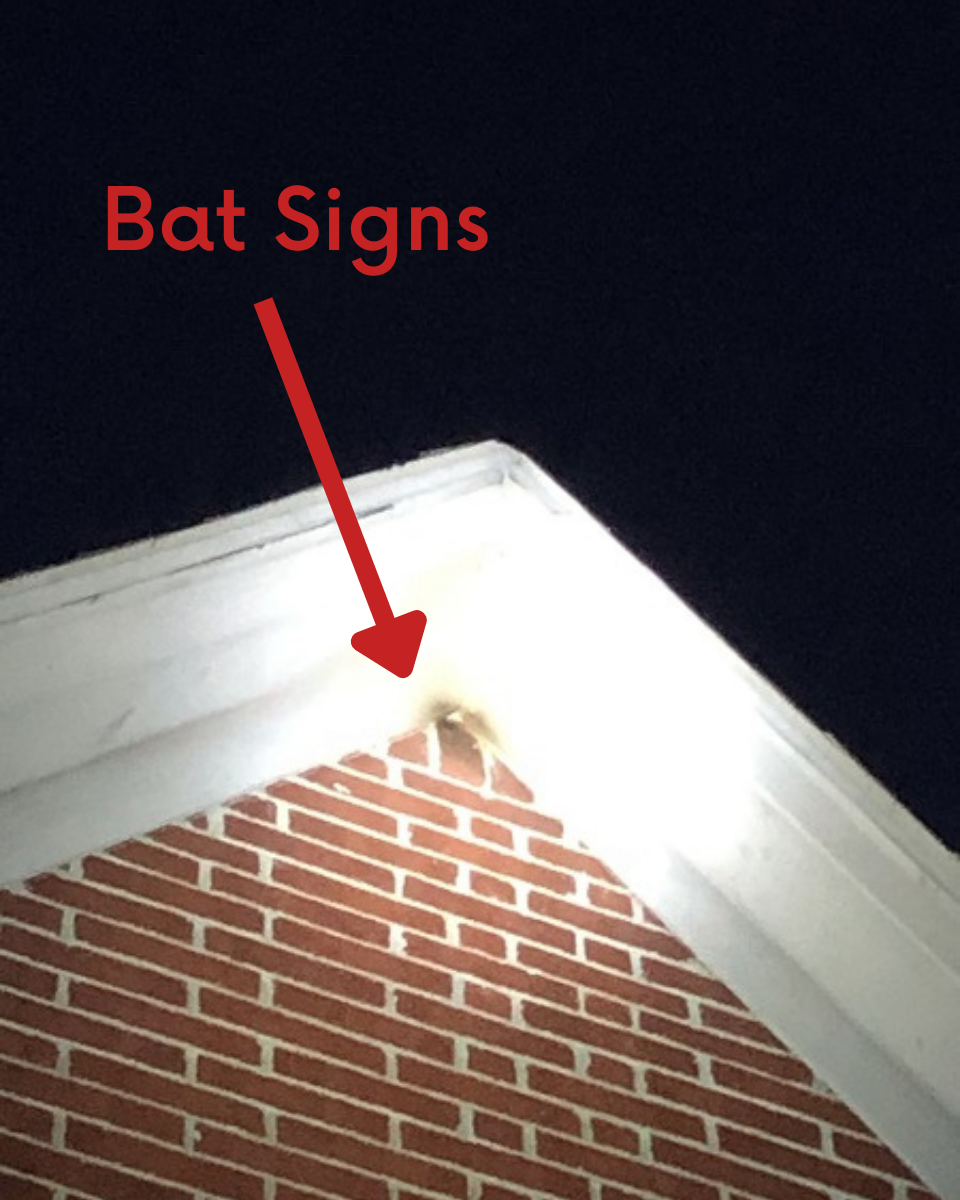
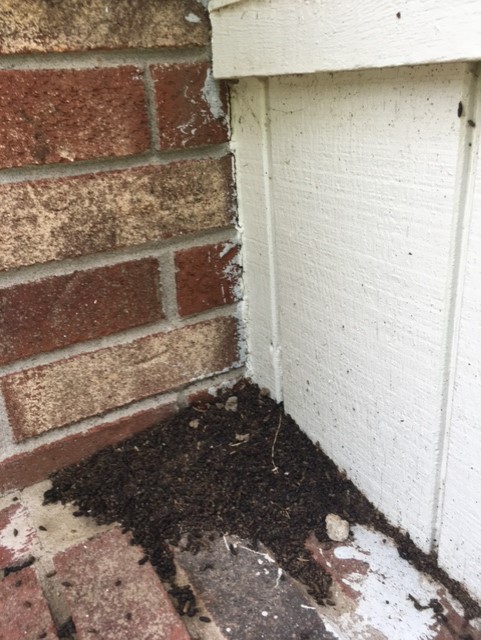
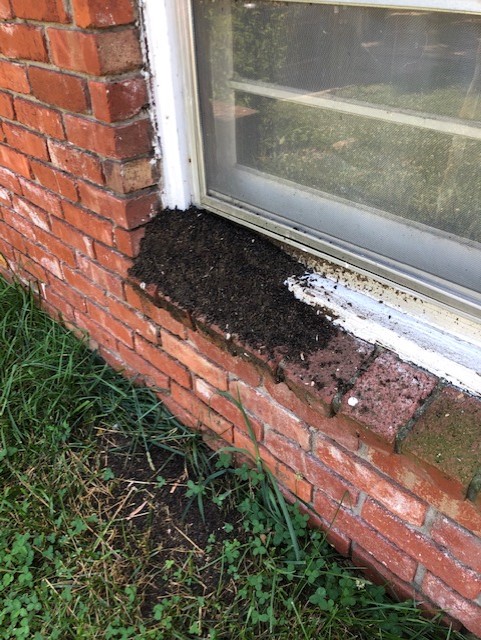
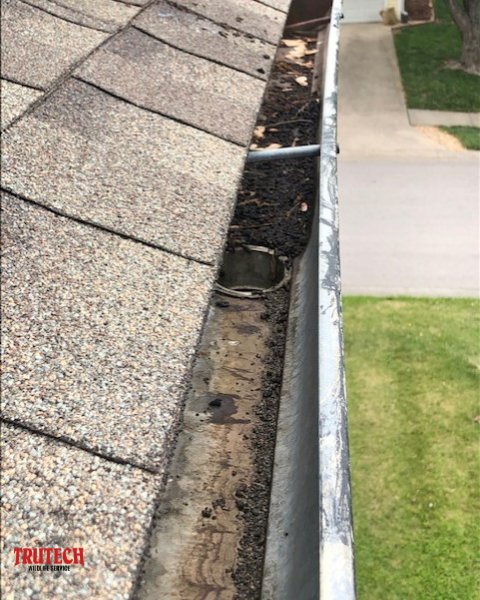
You can identify bat entry points by finding smudge or grease marks on the wall or finding piles of guano.
Bat Smudges/Grease Marks
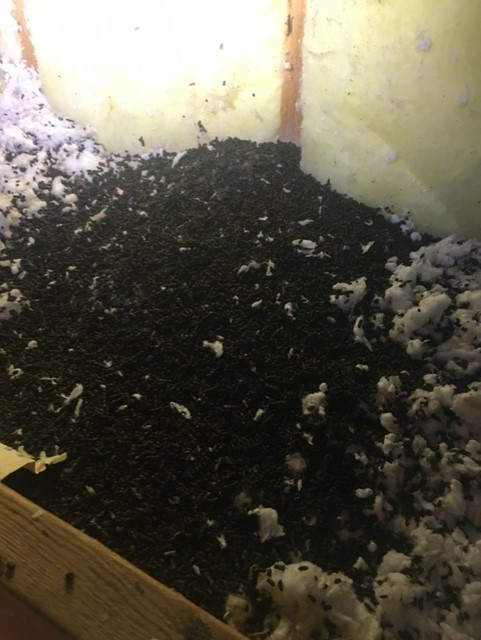
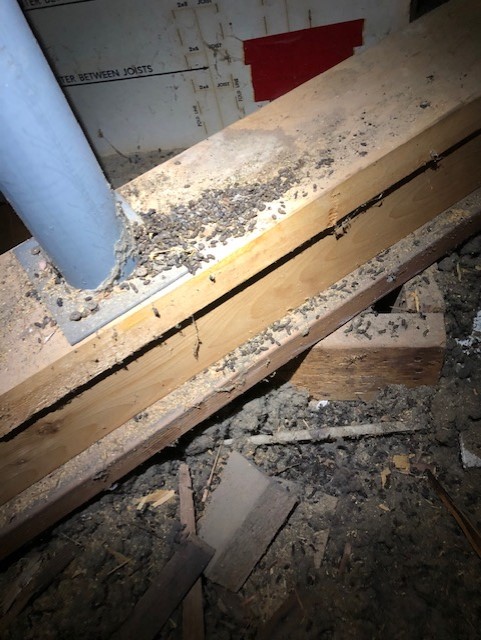
Guano
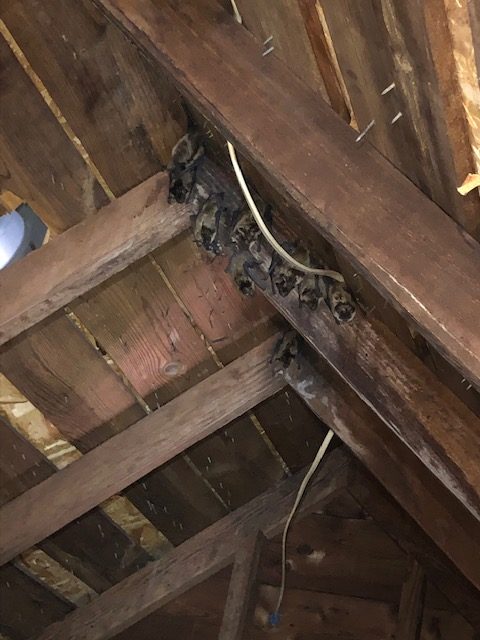
Step 2: Inspect the Interior of the Building
Inspect the attic and other potential roosting areas inside the building, looking for signs of bat activity, such as:
Bat droppings
Urine stains
Grease marks from bats rubbing against surfaces
Actual sighting of bats
Step 3: Determine the Extend of the Bat Infestation
Inspect the attic and other potential roosting areas inside the building, looking for signs of bat activity, such as:
How many bats are roosting in the attic
Location of active roosts
Potential entry/exit points
Step 4: Identify Any Potential Health and Structural Risks
Inspect the attic and other potential roosting areas inside the building, looking for signs of bat activity, such as:
How many bats are roosting in the attic
Location of active roosts
Potential entry/exit points
Step 5: Propose Bat Removal Strategies
Inspect the attic and other potential roosting areas inside the building, looking for signs of bat activity, such as:
Sealing entry points
Installing exclusion valves
Cleaning and decontaminating affect areas
Call Trutech In to Get Bats Out
For over 40 years, homeowners have trusted Trutech to safely get rid of bats from attics, walls, and chimneys.